Keep your $300 boots in top shape for ten winters with just five minutes of weekly care. Here’s how to make it happen without damaging them. Your winter boots endure relentless daily punishment. Every commute grinds gritty road salt into their seams, leaving the leather hissing for moisture. Snow, slush, and freezing temperatures constantly attack them. Unfortunately, many men exacerbate the damage by trying to clean their boots improperly.
They toss expensive leather boots into washing machines. They blast them with radiator heat. They skip basic maintenance until salt stains become permanent scars.
WATCH
Dress Sharp. Stand Strong. Live Boldly.
The result is cracked leather, separated soles, and boots that leak water right when you need them most. You paid a good amount of money for quality footwear. Do not destroy it with sloppy cleaning habits. But don’t worry, saving them doesn’t require expensive treatments or extensive effort. A quick two-minute rescue can significantly extend the life of your boots and protect your investment. Read on to discover easy, cost-effective solutions.
This guide shows you exactly how to wash winter boots the right way. No guesswork. No expensive products you do not need. Just proven methods that protect your investment and keep your boots performing year after year through winter.
Why Most Men Ruin Their Winter Boots
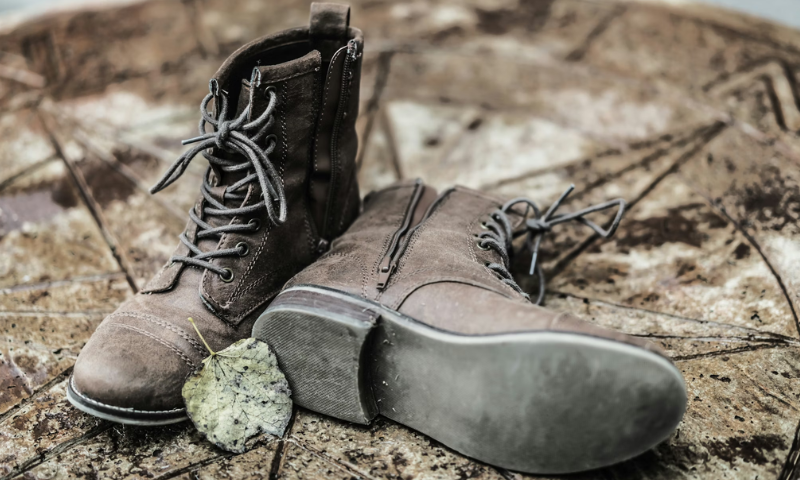
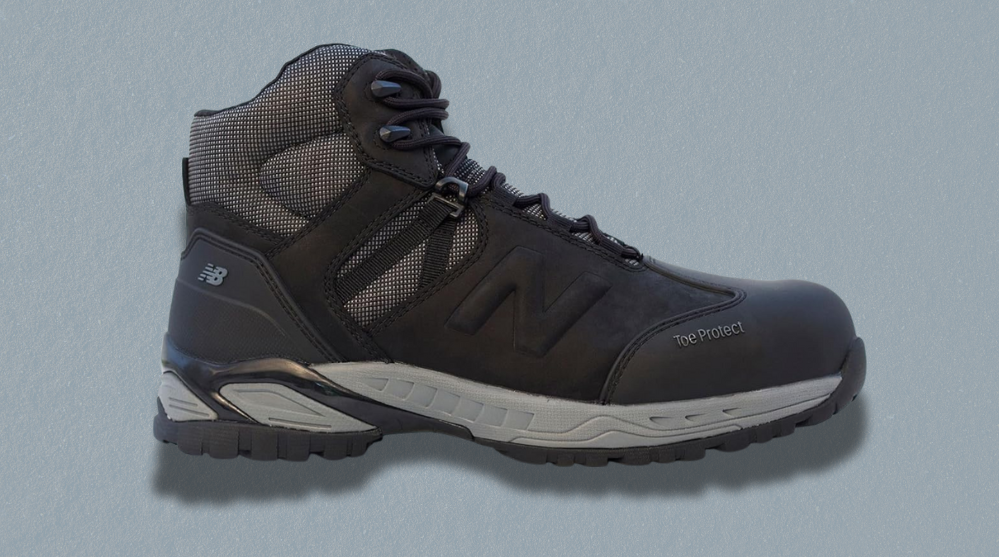
Image via Unsplash
Winter destroys boots faster than any other season. The combination of moisture, salt, and temperature extremes creates perfect conditions for material breakdown.
Road salt is enemy number one. It pulls moisture from leather, causing it to dry out and crack. Those white rings you see are not just ugly. They are chemical attacks that weaken the material from the inside out.
Water damage runs a close second. When boots get soaked, and you dry them wrong, the leather stiffens and loses flexibility. Waterproof membranes collapse, and adhesives fail.
Heat makes everything worse. Placing wet boots near radiators speeds up drying but permanently damages materials. Leather contracts and cracks. Synthetic components warp. Glue melts and separates.
Most men wait too long to clean their boots. By the time you notice serious salt staining or smell problems, damage has already started. Regular maintenance prevents this completely.
Start With Proper Pre-Cleaning
Never clean wet boots immediately after wearing them. This pushes dirt deeper into materials, making stains permanent.
Let everything dry first. Mud and slush are easier to remove when completely dry. Set your boots in a well-ventilated space away from heat sources and let them sit for at least 12 hours.
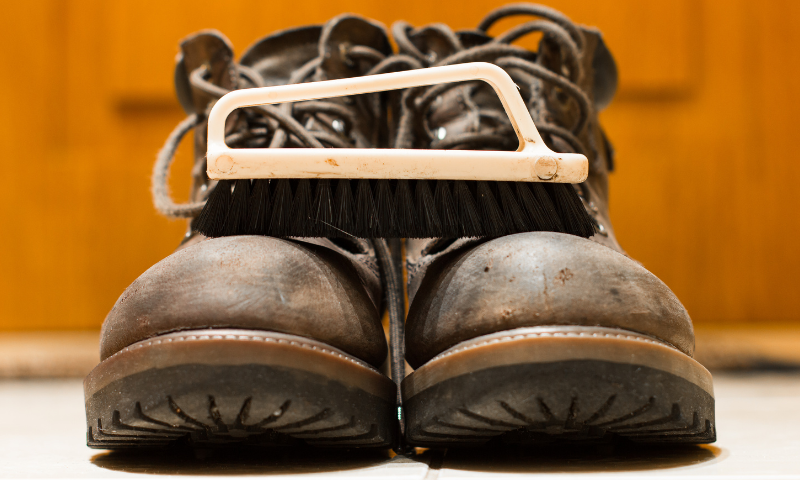
Once dry, take them outside. Knock the soles together firmly to dislodge dried mud. Use a soft brush or an old toothbrush to sweep away loose dirt from uppers, seams, and crevices.
Remove laces completely. They trap dirt beneath the surface, preventing proper cleaning. Wash laces separately in warm water with mild soap.
Pull out insoles if they are removable. These collect sweat and odors that never fully dry inside boots. Clean them separately and let them air dry flat.
This prep work takes five minutes but prevents hours of scrubbing later.
How To Clean Leather Winter Boots
Leather boots require the most careful approach. They last for decades when maintained properly, but aggressive cleaning strips away protective oils, causing irreversible damage.
Start with a barely damp cloth, not soaking wet. Lukewarm water only. Wipe down the entire upper surface using light pressure to lift surface grime without saturating the leather.
For salt stains, mix one part white vinegar with two parts water. Dab this onto stained areas using a clean cloth. The vinegar dissolves salt crystals without harming leather. Wipe again with plain water to remove vinegar residue.
Never scrub aggressively or use harsh detergents. These strips remove leather’s natural oils, accelerating its aging.
After cleaning, let boots dry at room temperature in a ventilated area. Stuff them lightly with newspaper to help maintain shape. Do not place them near radiators or heaters. Forced heat causes leather to shrink, crack, and become brittle.
Drying takes 24 to 48 hours. Be patient. Rushing this step ruins more boots than any other mistake.
Once completely dry, apply leather conditioner using a soft cloth. Work it into the material with circular motions. Cleaning removes protective oils, so conditioning is not optional.
After conditioning, apply a waterproofing treatment designed for leather. Products like Nikwax create a protective barrier against future moisture and salt. Hold the bottle 6 to 8 inches away and spray evenly.
Cleaning Suede and Nubuck Boots
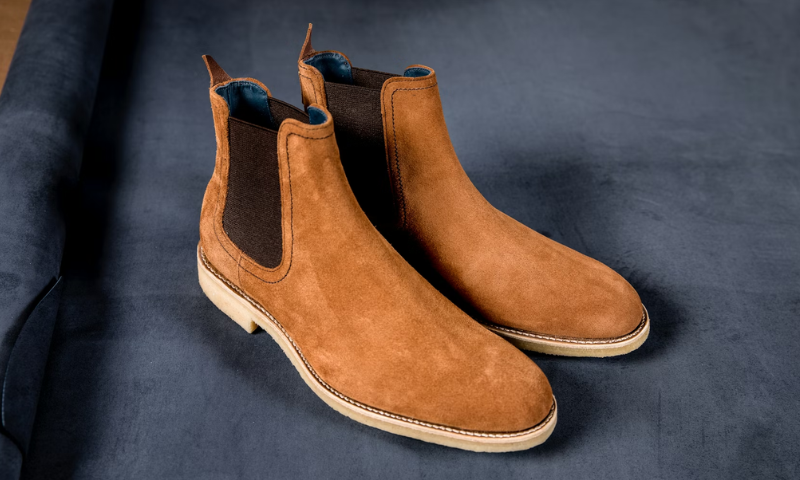
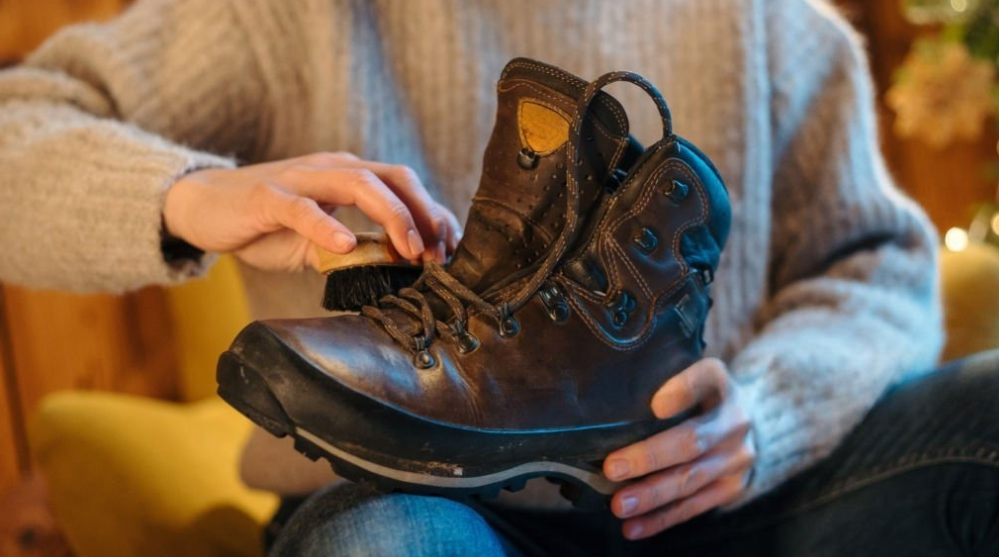
Image via Unsplash
Suede and nubuck look sophisticated but demand different care than smooth leather. Water can permanently stain these materials, so approach them cautiously.
Always start dry. Use a suede brush to lift dirt and restore the nap once everything has dried completely. Brush in one direction, following the material’s natural grain.
For light surface marks, a suede eraser works perfectly. These rubber blocks grip dirt close to the surface. Rub gently over stains using circular motions.
To remove salt stains from boots, mix one part white vinegar with two parts water. Dampen a cloth lightly with this solution and dab stained areas carefully. Do not soak the suede. Let it dry naturally, then brush again to restore texture.
Grease or oil stains need absorbent powder. Sprinkle baking soda or cornstarch directly onto the mark. Let it sit overnight to absorb oils, then brush away completely the next day.
Never use regular leather cleaners on suede or nubuck. The formulas are too harsh and will damage the delicate surface. Stick to products specifically labeled for these materials.
After cleaning and drying, apply a suede protector spray to preserve the texture. This creates an invisible barrier that repels water and prevents future staining.
Fabric and Synthetic Boot Care
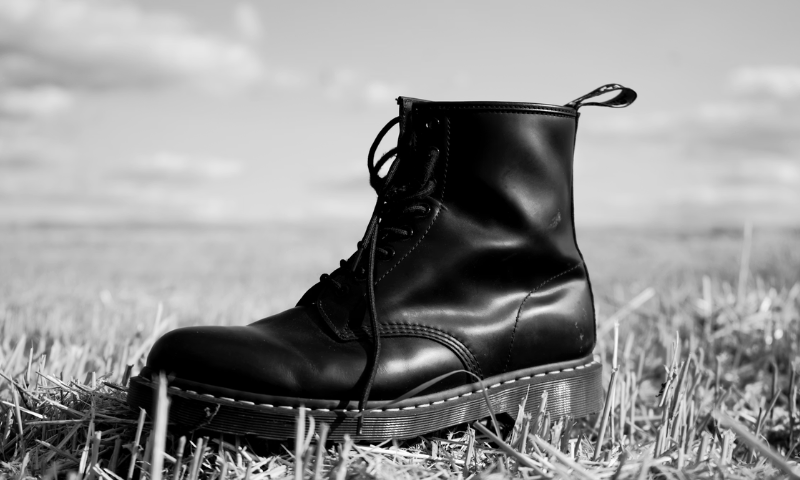
Image via Unsplash
Modern winter boots often combine textile uppers with waterproof membranes. They appear to be durable enough for machine washing, but manufacturers specifically warn against doing so.
Washing machines use harsh agitation and detergents that clog waterproof membranes and weaken adhesives. Hand cleaning works better and takes less time than you think.
Remove laces and insoles first. Brush away all dried dirt using a soft brush.
Mix lukewarm water with a small amount of mild soap or use a specialized boot cleaner. Apply this solution with a soft cloth or brush, gently working it into dirty areas.
For waterproof membrane boots, use cleaners designed specifically for technical fabrics. These clean without leaving residues that reduce water repellency.
Rinse thoroughly with a clean, damp cloth until all soap is gone. Soap residue attracts dirt and can compromise membrane breathability.
Stuff boots lightly with newspaper and let them air dry in a ventilated space. Keep them completely away from heat sources. Synthetic materials and adhesives do not tolerate high temperatures.
Once fully dry, reapply a waterproofing spray designed for synthetic fabrics. Factory coatings wear off quickly, especially after cleaning.
Rubber and Shell Boot Maintenance
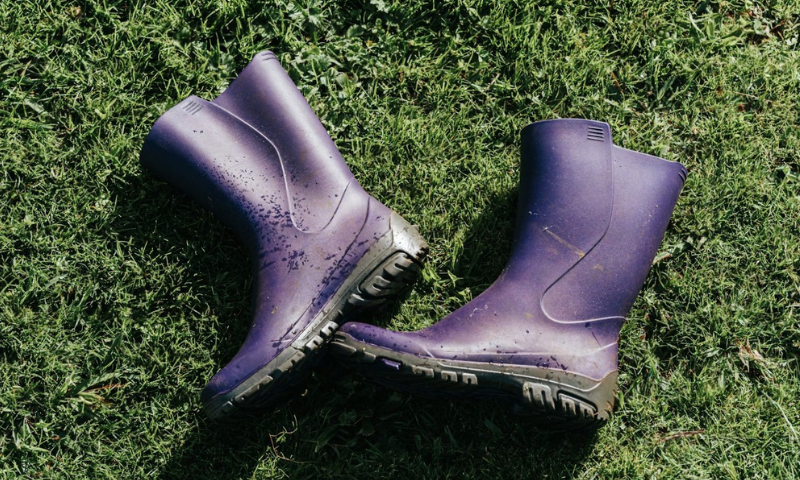
Image via Unsplash
Rubber boots seem indestructible. They are not. Salt and improper drying can cause them to crack and degrade faster than you expect.
Cleaning is straightforward. Rinse off mud and salt with warm water. Use mild soap for stubborn grime. Dry with a towel, then let them stand in a well-ventilated area.
The critical step is removing salt completely. Salt left on rubber gradually breaks down the material, causing it to stiffen and crack.
Some manufacturers sell rubber conditioners that keep material supple. If you live somewhere that dumps salt on roads for five months straight, these products are worth the investment.
Boot Drying Methods That Actually Work
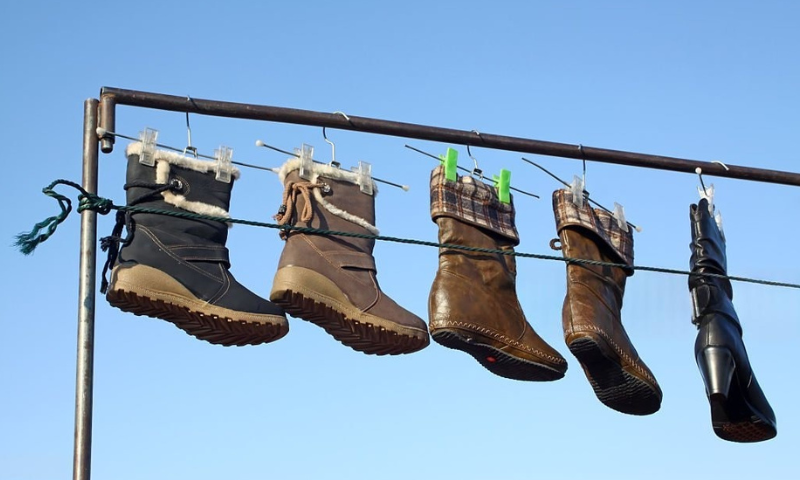
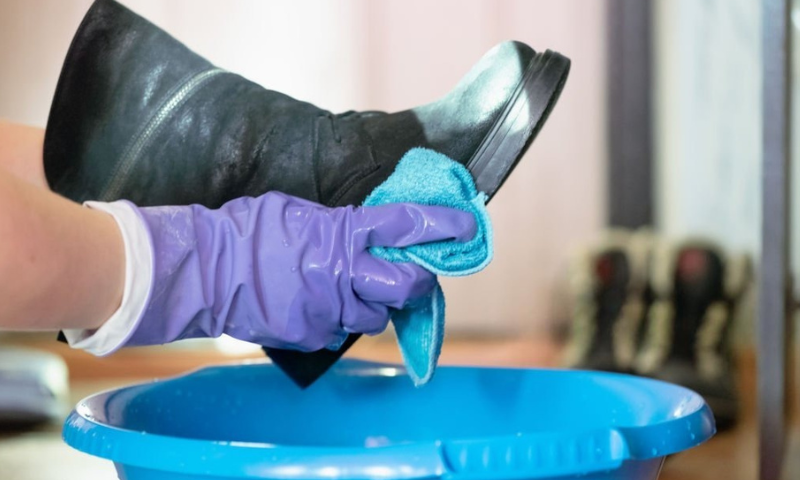
Image via iStockphoto
Proper drying prevents more damage than any other maintenance step. Get this wrong, and you will destroy expensive boots overnight.
Never use direct heat sources. No radiators, heaters, hair dryers, or fireplaces. Heat that feels comfortable to your hand is too intense for wet boots. It causes leather to crack, glue to melt, and synthetic materials to warp.
The best drying method is simple air circulation at room temperature. Open the boots fully by loosening the laces completely or pulling the tongues forward.
Stuff boots lightly with newspaper or paper towels. These absorb moisture from inside while helping boots maintain their shape. Replace the paper every few hours until the boots are completely dry.
Position boots in a well-ventilated area away from heat sources and direct sunlight. A garage, mudroom, or spare room works well.
A fan helps speed the process without applying heat. Position it so it blows across the boots, not directly into them. This increases air circulation, reducing drying time to 12-24 hours.
Check boots after 24 hours. If they still feel damp inside, give them another 24 hours. Wearing boots before they are completely dry invites blisters, odor problems, and foot health issues.
Cleaning Boot Interiors and Insoles
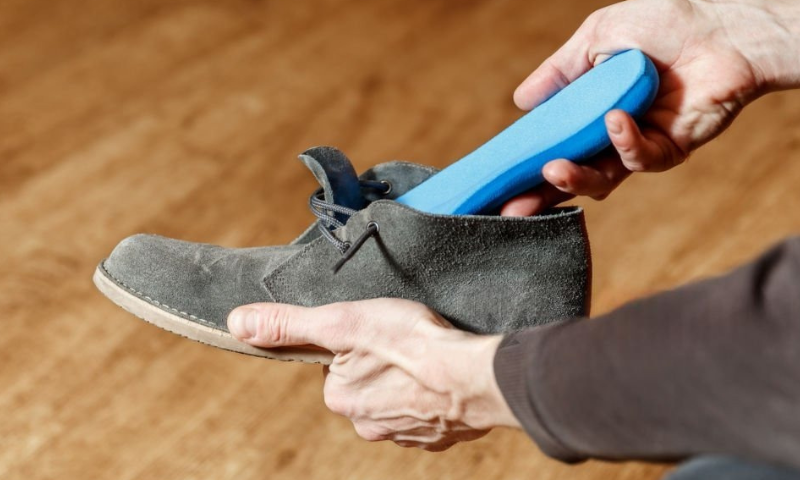
Image via iStockphoto
Exterior cleaning is pointless if the inside of your boots smells terrible.
After each serious outing, fully open the boots and let them air out in a dry location. This prevents moisture buildup and bacterial growth.
If insoles are removable, take them out regularly. Many synthetic insoles can be hand-washed in lukewarm water with mild soap. Press excess water out with a towel, then air-dry flat.
For boot interiors, sprinkle baking soda inside and let it sit overnight. Shake it out the next morning. This absorbs moisture and neutralizes odors without harsh chemicals.
Boots with removable thermal liners need the liners removed and dried after every wear. Leaving them damp inside creates perfect conditions for mold growth.
Never spray disinfectants or harsh chemicals inside boots. These can irritate skin and damage waterproof membranes.

Winter Boot Care Tips for Long-Term Performance
Prevention beats repair every time. A few simple habits protect your investment better than intensive cleaning sessions.
Wipe boots down after every wearing. A quick pass with a damp cloth removes surface salt and dirt before it sets in. This 30-second habit prevents hours of deep cleaning later.
Rotate between two pairs of boots if possible. Giving each pair a full day to dry between wearings prevents moisture accumulation and dramatically extends their lifespan.
Apply waterproofing treatments regularly, not just once at the start of the season. Reapply every few weeks during heavy use or after each thorough cleaning.
Address salt stains immediately when you notice them. The longer salt sits on boots, the deeper it penetrates and the harder it becomes to remove.
Condition leather boots at least once per month during winter. This replaces oils that cold weather and salt strip away, keeping leather supple and preventing cracks.
End of Season Storage
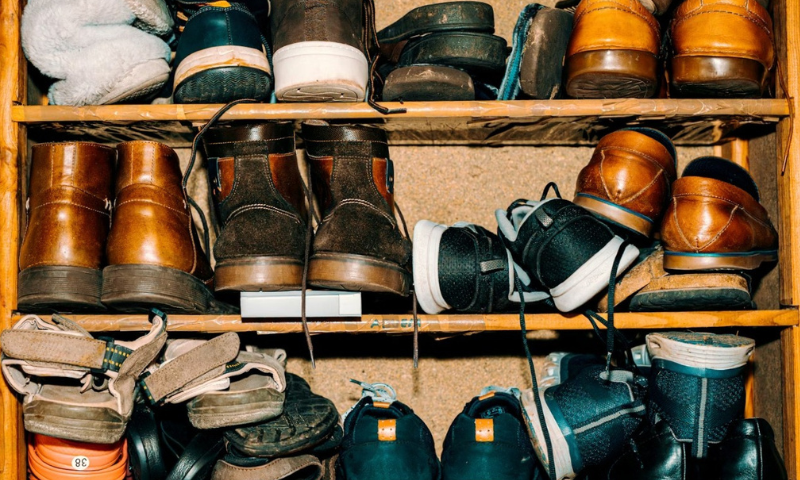
Image via unsplash
Prevention beats repair every time. A few simple habits protect your investment better than intensive cleaning sessions.
Wipe boots down after every wearing. A quick pass with a damp cloth removes surface salt and dirt before it sets in. This 30-second habit prevents hours of deep cleaning later.
Rotate between two pairs of boots if possible. Giving each pair a full day to dry between wearings prevents moisture accumulation and dramatically extends their lifespan.
Apply waterproofing treatments regularly, not just once at the start of the season. Reapply every few weeks during heavy use or after each thorough cleaning.
Address salt stains immediately when you notice them. The longer salt sits on boots, the deeper it penetrates and the harder it becomes to remove.
Condition leather boots at least once per month during winter. This replaces oils that cold weather and salt strip away, keeping leather supple and preventing cracks.
The Bottom Line
Washing winter boots correctly takes more time than tossing them in a machine, but far less time than shopping for new boots because you ruined the ones you had.
The process is straightforward. Let everything dry, brush away loose dirt, clean gently with appropriate methods for each material, dry properly at room temperature, then condition and waterproof.
Follow these steps regularly, and your boots will last for years instead of just one season. They will look better, perform better, and save you money.
Winter is hard on footwear. Do not make it harder by cleaning your boots incorrectly. Treat them like the equipment they are, and they will take care of your feet through every storm winter throws at you.